|
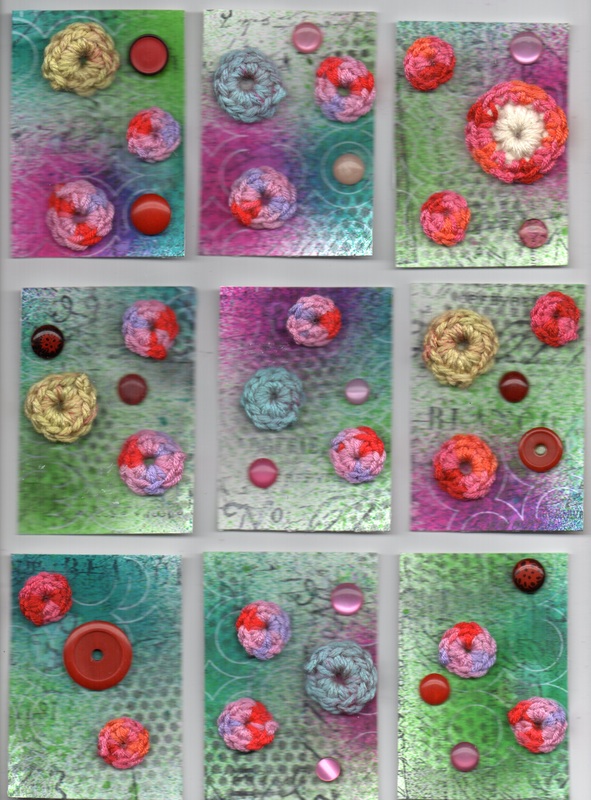
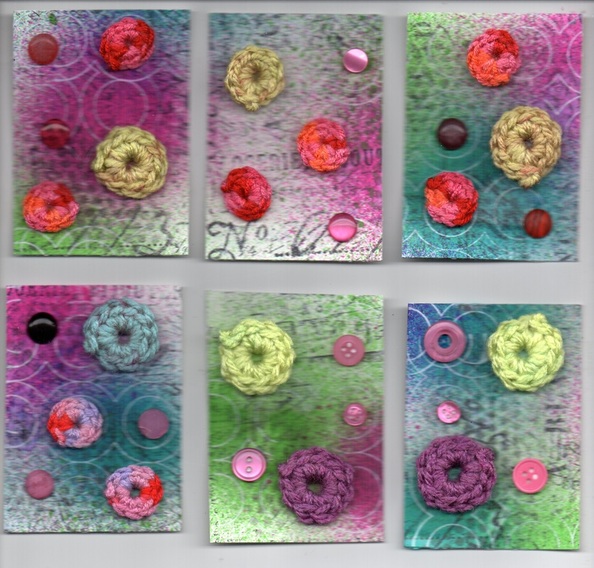
I started with 110lb. cardstock for my background and sprayed Dylusions spray ink over the whole piece. Next I used some rubber stamps to create more layers. Finally I rubbed Black Soot Distress ink through a piece of drywall mesh. This was cut into ATCs and I glued on crochet circles and some imperfect buttons. These are now ready for the local Sept. monthly ATC swap.
0 Comments
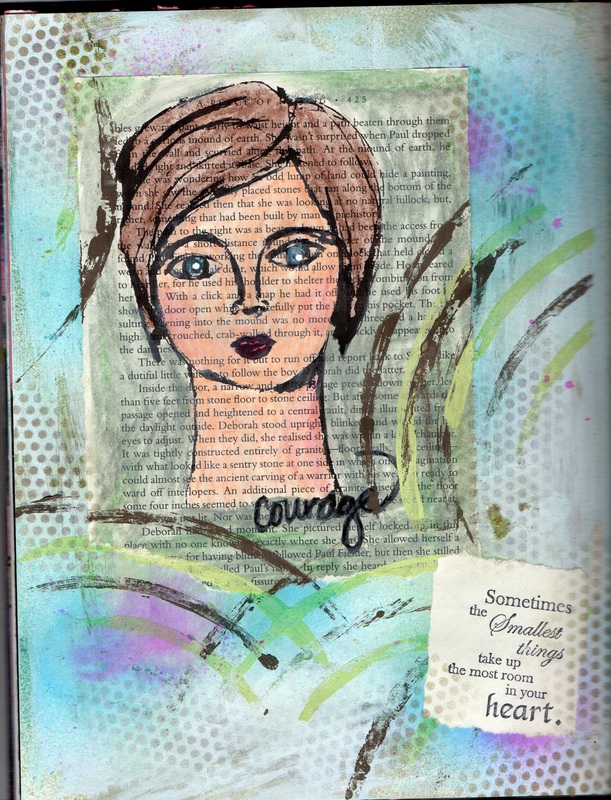
I started out today watching Carolyn Dube's video and was inspired to have a little fun play. First I printed a face image from Tangie Baxter's 6 month loyalty bonus from the Art Journal Emporium subscription on to a book page. I painted the girl with Portfolio Pastels and water brushes. I touched up some of the lines with my brush pen and wrote over the word courage with the pen. My background is spray inks, these were too bright so I covered with a light coat of gesso. I glued the painted girl onto my journal page and did the arc shapes overlapping the book page by using acrylic paint on a cake tray and pressing it onto the page like a stamp. I finished the page with drywall tape liner used as a stencil with distressed ink.
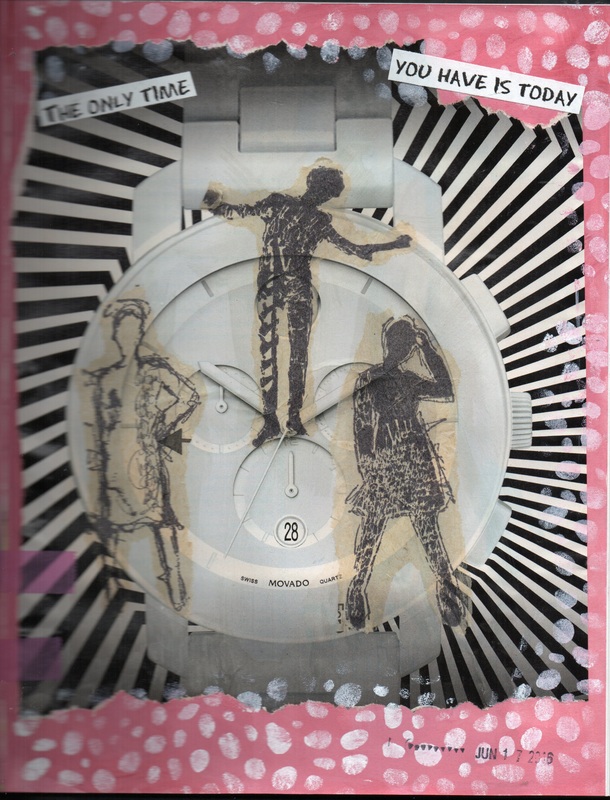
This page blends with the previous page in that the background is the same pink acrylic paint. The full page image of a watch caught my attention while I was looking of images for the previous page. I did a torn edge on the page and glued it onto my page. Next I stenciled with the same stencil that I used for the sanding on the previous page using white acrylic paint. The ladies were stamped on pattern tissue, torn out and glued on the page. The right words finally came to me as I was finishing and I use computer generated text glued down and added a couple of pieces of pink washi tape continuing across to the facing page.
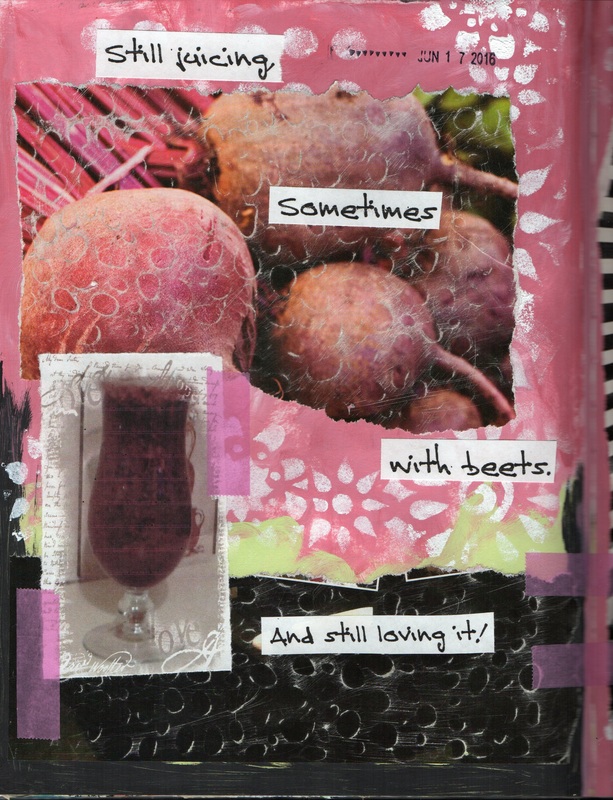
For this page I started with images from a magazine and used a Mary Beth Shaw Stencil Girl technique of placing the magazine paper over a stencil and sanding to create a pattern. The page is painted with pink and spring green acrylic and then stenciled with white acrylic. The magazine images was glued on the page and then the photo was also glued down and computer generated text was added. I finished up by adding a couple of pieces of washi tape to the juice photo.
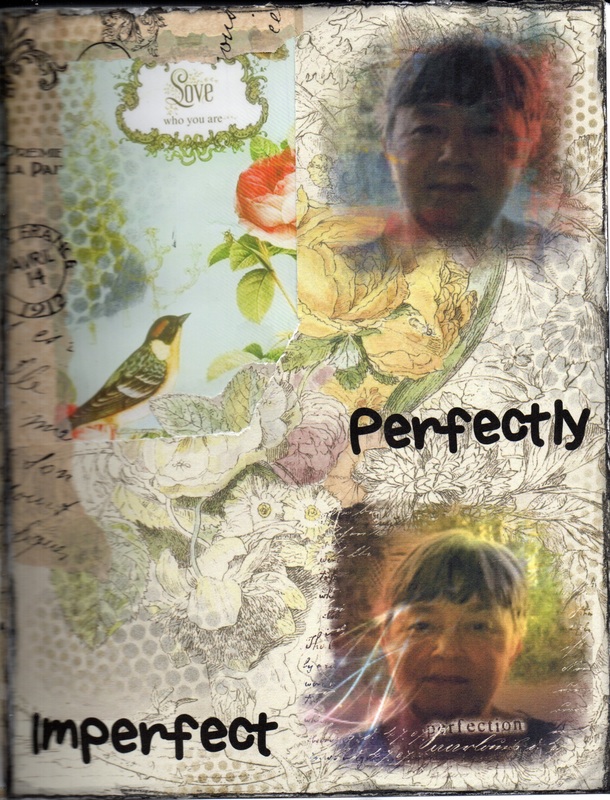
 I did this journal page a couple of days ago and am just getting it posted now. The concept started with this image from a picture frame and it just looked to good not to use. I like the images and especially like the sentiment "Love who you are..." Next I found a collage image 1 from the June Art Journal Emporium which is part of the monthly subscription programe. I used a photo taken by my sister and cropped it and edited with PicMonkey. The background, text and photos were assembled digitally and printed with an inkjet printer on matt brochure paper. I tore an area to reveal the bird image and glued onto my journal page. I added torn tissue paper along the top and left edge of the page. I used some sequin waste and drywall tape as stencils with black soot Distress Ink. The finale step was to edge the page with black Conte a Paris pencil and blended with a water brush.
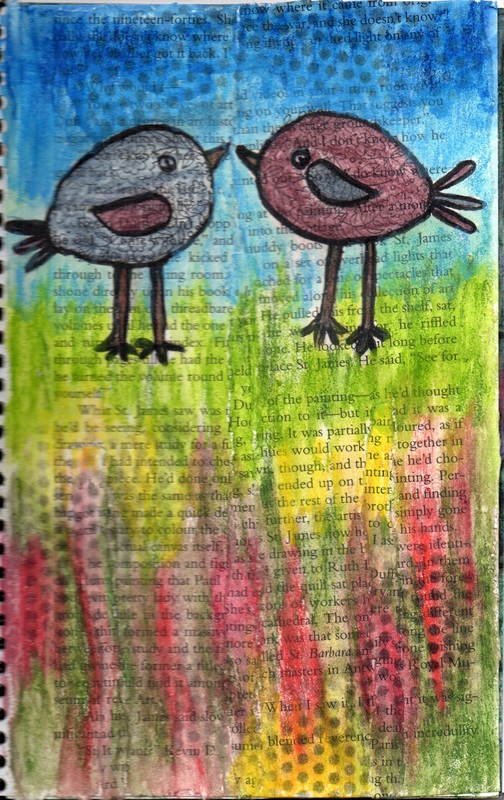
 The Finished Journal Page The Finished Journal Page A few days ago I finally watched a video my friend posted a link to on facebook and then did my own very different version. I even took photos along the way so you can see the stages of my page. Here is the original video. Playing with my bird ideas again in my journal. This time I used a floral egg stamp for the bodies, then drew in the details. This birds were painted with Graphitint and the background is again the Lyra Aquerelle crayons and blended with the water brush. This was all done on book page and glued into the journal.
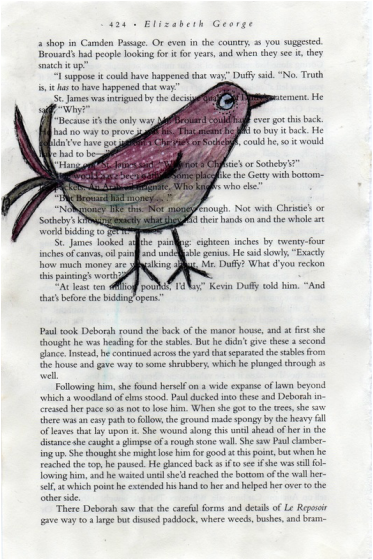
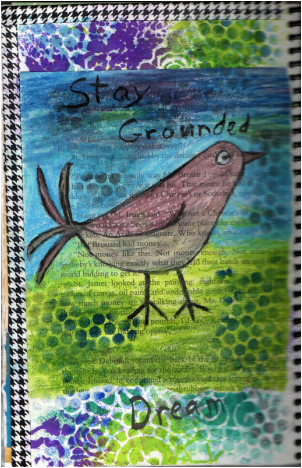
I played last night and drew a funky little bird on book text. I coloured the bird with Graphitint pencils and blended with my water brush. I redrew the sketch lines with a black marker pen I coloured the iris with the same marker pen and the rest of the eye with a white Pen-touch. I coloured in the background with Lyra Aquacolor crayons and again blended with the water brush. Next I selected a journal page to use and sprayed Dylusions Inks through a couple of stencils I tore the bird paper to fit and glued it onto the journal background. I used several ink colours and sponged through a piece of sequin wast, making sure to get some on the bird paper as well.
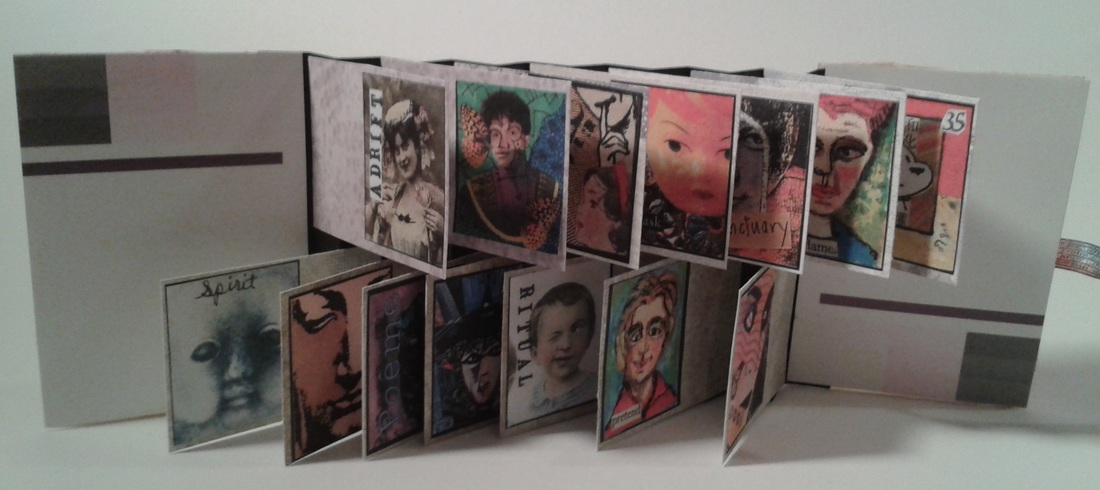
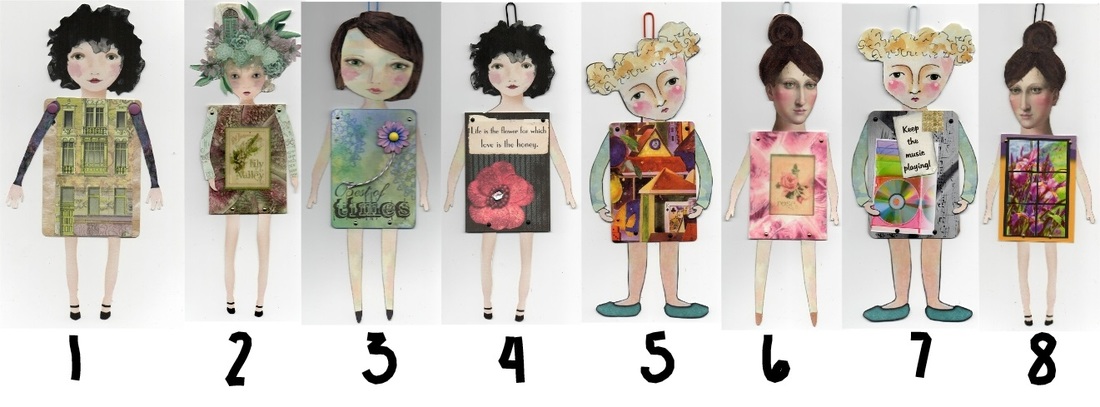
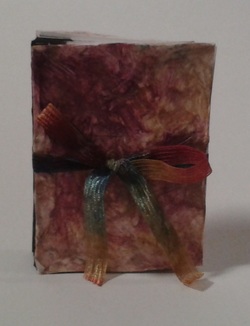 Front cover of Flag Book Front cover of Flag Book On Sunday, April 17 I got a great little kit and instructions from one of the members of the ATC Vancouver swap group and some extra notes from another member and yesterday I left the kit for later and made a two row flag book. My covers are textured tissue ATC backgrounds that never did get made into ATCs. I used black cardstock to make my accordion spine and scraps from other projects to cut my flags. For content I used extra images left over from making the April ATCs for trading. Who doesn't like to play with paper dolls? I had a lot of fun doing these art dolls and using up some of my old ATCs that were hanging out neglected and untraded in my swap binder. I used old untraded ATCs or altered playing cards for the torso and made heads, arm and legs to attach. My dolls are about 8 in. tall when finished. I used Rebeca McMeen digital art dolls resized for mine, but they could be made with magazine images or draw your own or rubber stamps. You do need to use cardstock for the parts and glue magazine images onto the cardstock to make them sturdy enough. I attached the limbs with tiny brads, glued the head and attached a paperclip at the top for hanging. This project works well for Carolyn Dube's "Use it or loose it" challenge.
|
Archives
November 2016
Categories
All
|


 RSS Feed
