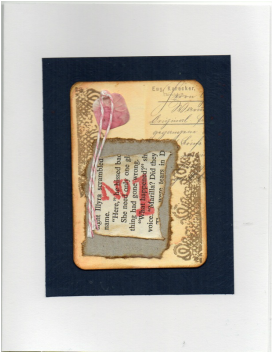
 Card Front
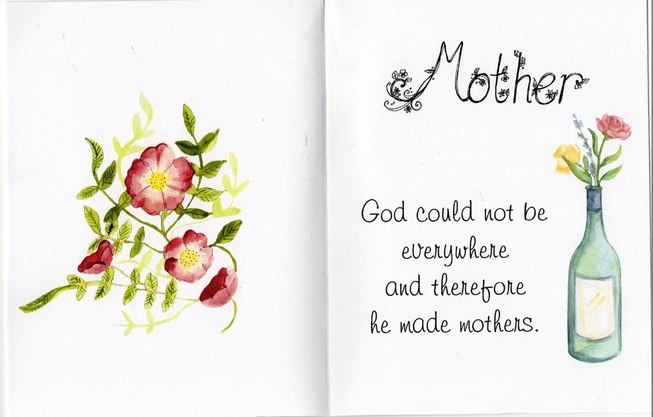
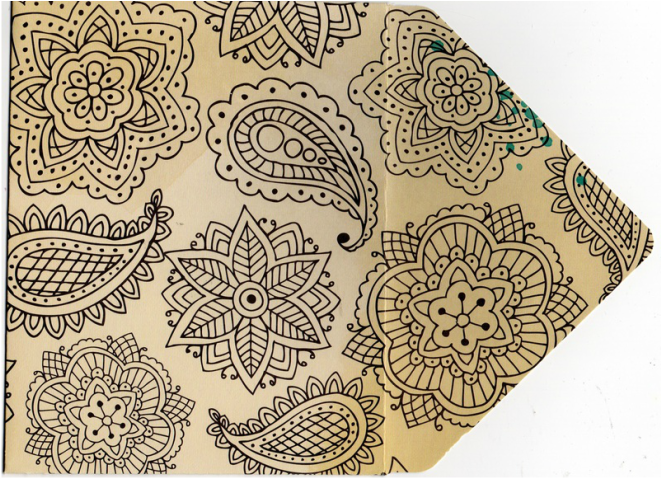
 Card Front Card Front Since my Mom isn't connected I can go ahead and post the card I made yesterday. I'll be able to deliver it to her in person this year. For this card I dug into my old untraded ATCs and glued a suitable one to some textured navy cardstock and glued that on the front of a blank greeting card. The inside is created digitally. The envelope is made from scrapbook paper.
0 Comments
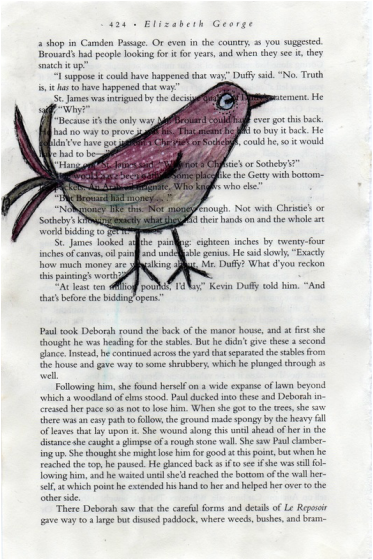
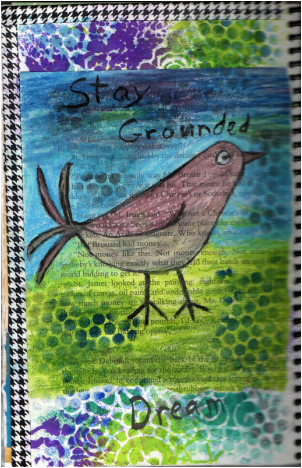
I played last night and drew a funky little bird on book text. I coloured the bird with Graphitint pencils and blended with my water brush. I redrew the sketch lines with a black marker pen I coloured the iris with the same marker pen and the rest of the eye with a white Pen-touch. I coloured in the background with Lyra Aquacolor crayons and again blended with the water brush. Next I selected a journal page to use and sprayed Dylusions Inks through a couple of stencils I tore the bird paper to fit and glued it onto the journal background. I used several ink colours and sponged through a piece of sequin wast, making sure to get some on the bird paper as well.
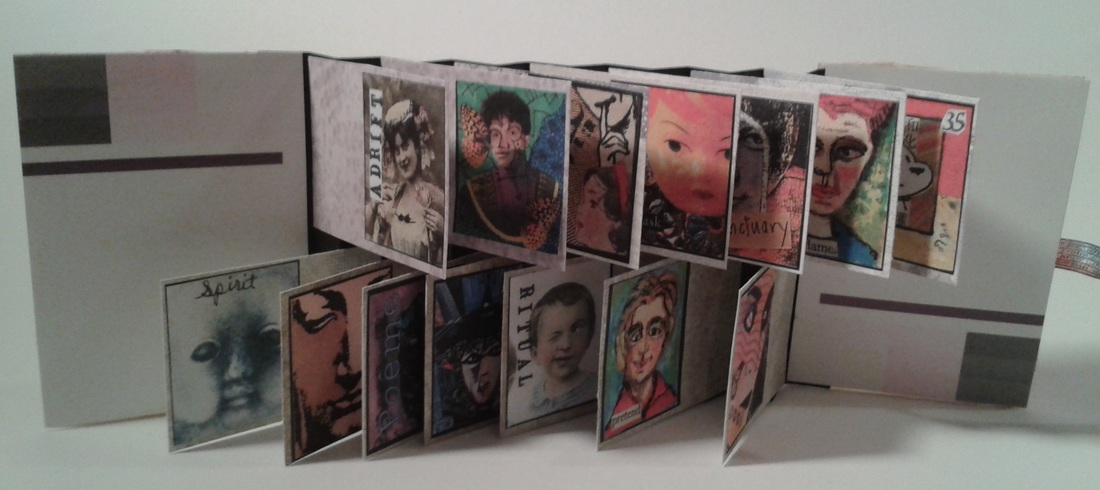
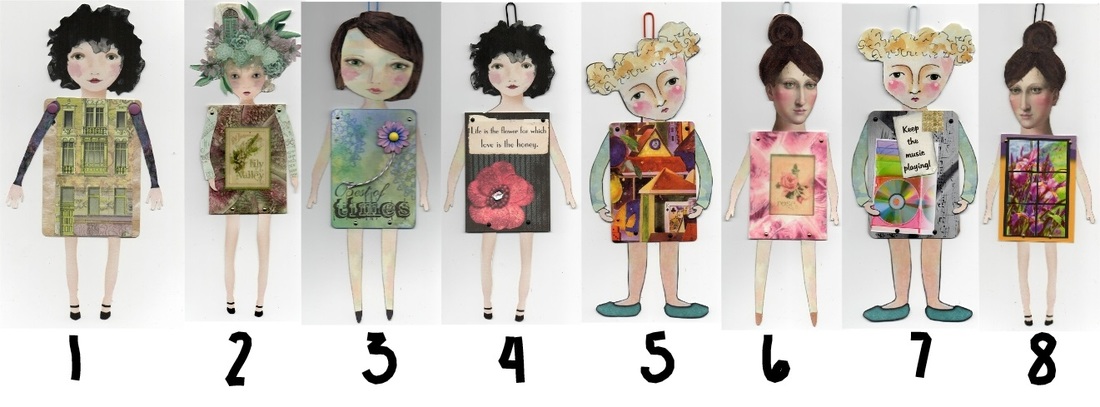
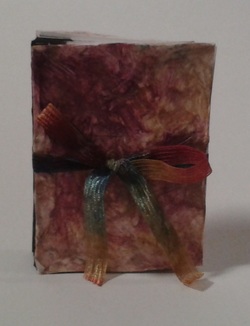 Front cover of Flag Book Front cover of Flag Book On Sunday, April 17 I got a great little kit and instructions from one of the members of the ATC Vancouver swap group and some extra notes from another member and yesterday I left the kit for later and made a two row flag book. My covers are textured tissue ATC backgrounds that never did get made into ATCs. I used black cardstock to make my accordion spine and scraps from other projects to cut my flags. For content I used extra images left over from making the April ATCs for trading. Who doesn't like to play with paper dolls? I had a lot of fun doing these art dolls and using up some of my old ATCs that were hanging out neglected and untraded in my swap binder. I used old untraded ATCs or altered playing cards for the torso and made heads, arm and legs to attach. My dolls are about 8 in. tall when finished. I used Rebeca McMeen digital art dolls resized for mine, but they could be made with magazine images or draw your own or rubber stamps. You do need to use cardstock for the parts and glue magazine images onto the cardstock to make them sturdy enough. I attached the limbs with tiny brads, glued the head and attached a paperclip at the top for hanging. This project works well for Carolyn Dube's "Use it or loose it" challenge.
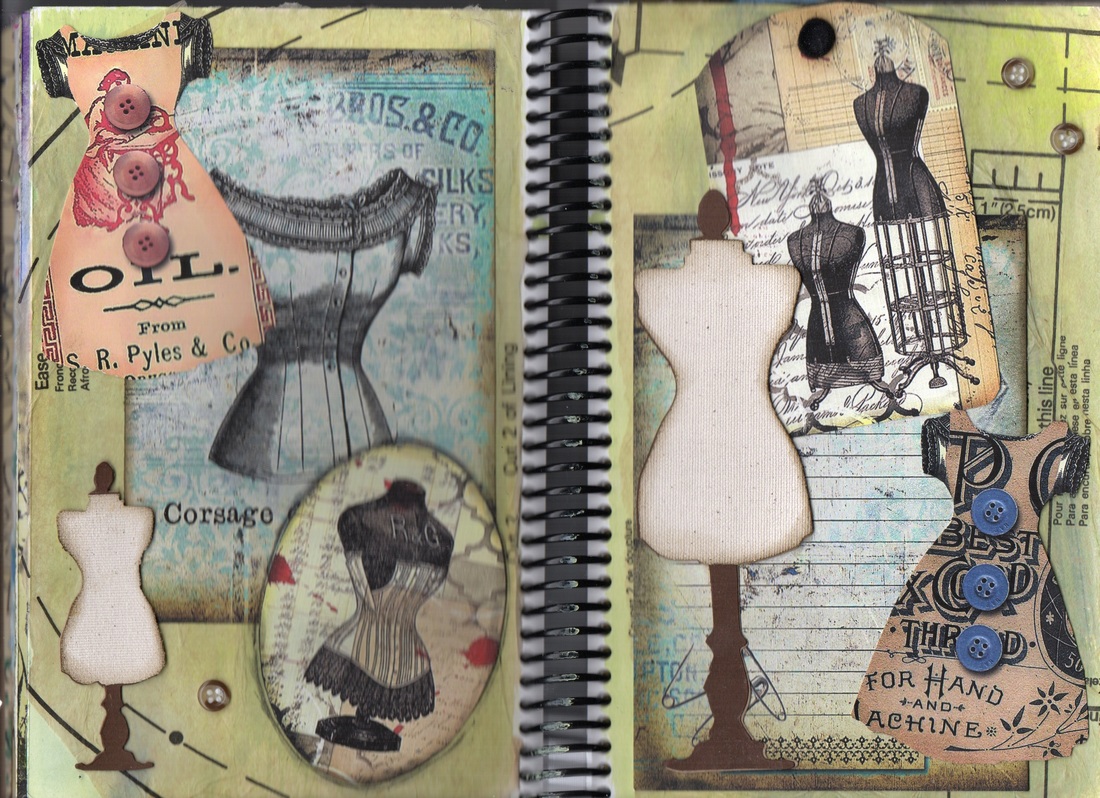
Craft Classes Online posted a challenge on their Everyday Moodlings blog and it appealed to me so I started right away. The shape I chose was dress form. I used images from Ephemera's Vintage Garden Mabel's Diary Freebie and Buttons and Frills. I started by painting my pages with Spring green a Truly blue craft acrylic paint. Next I decoupaged pattern tissue on both pages. I then glued on the elements from Ephemera's Vintage Garden, then added Sizzex dies form die cuts. The final step was gluing three small buttons on.
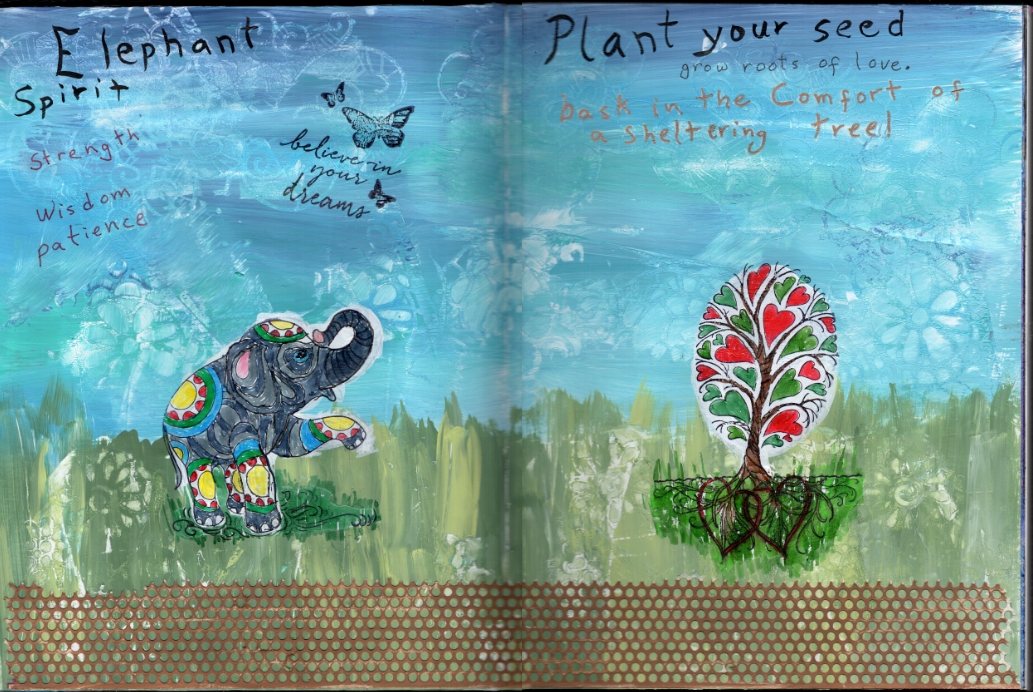
Today's journal spread fits week 14 Seeds in Journal52 and itinerary 10 in the Art Journal Caravan on The Art Journal Emporium I started by spreading gesso on the 2 page spread, then painted blues and greens acrylic paint on the wet gesso. I used stencils and a sponge to remove some of the paint. When that was dry, I brushed gesso in the areas where I wanted to stamp the elephant and tree. I coloured these images with Crayola markers, added painted drywall tape for the ground and did my journaling with a brush pen and several markers. The butterflies and "believe in your dreams" is another rubber stamp.
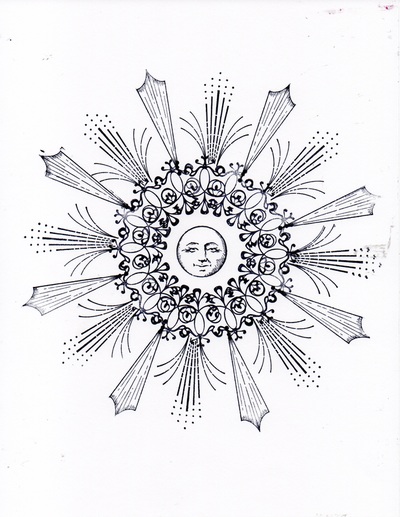
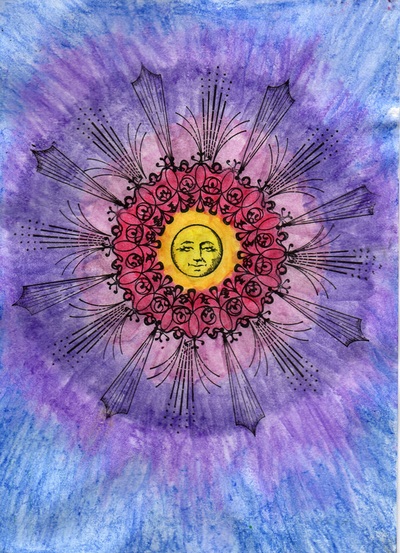
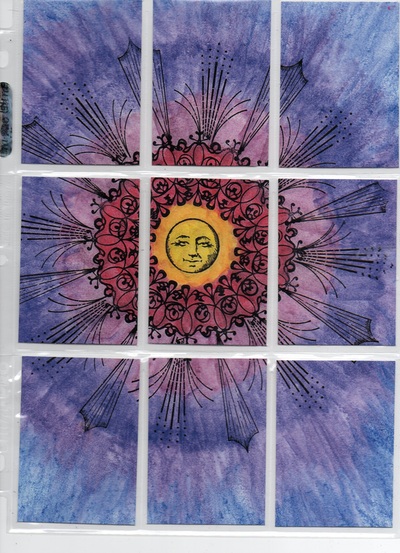
Today I am describing my process for creating this mandala and turning it into an Art Journal Pocket Page. I used 3 small rubber stamps to create the circle. I scanned the stamped image and printed on watercolour paper then coloured with Portfolio Pastels and blended with my water brush. I again scanned the colour image, trimmed it a bit and cut to 2.5 in. X 3.5 in. to make a series of trading cards that makes up the Art Journal Pocket Page.
|
Archives
November 2016
Categories
All
|

 RSS Feed
